In this exercise I am required to create a still life using between 6-10 objects adding one or two at a time and each time take a photograph with an aim to create a final grouping that gels together and hopefully is not boring.
I've taken this set of images in the kitchen where I know I will have good options of colour and shape to use.
Image 1

So for the first image I've placed the chopping board at angle, one that you wouldn't normally work at to create some diagonal line to give some energy to the image and I've placed the end of a cucumber on a zing point again to help give the image am implied feel of dynamic movement.
Image 2

Next I've added some sliced cucumber and a knife. I've positioned the cucumber so it looks like its just been cut, which it has and also the knife used to create the slices again place at an angle to avoid straight lines.
Image 3
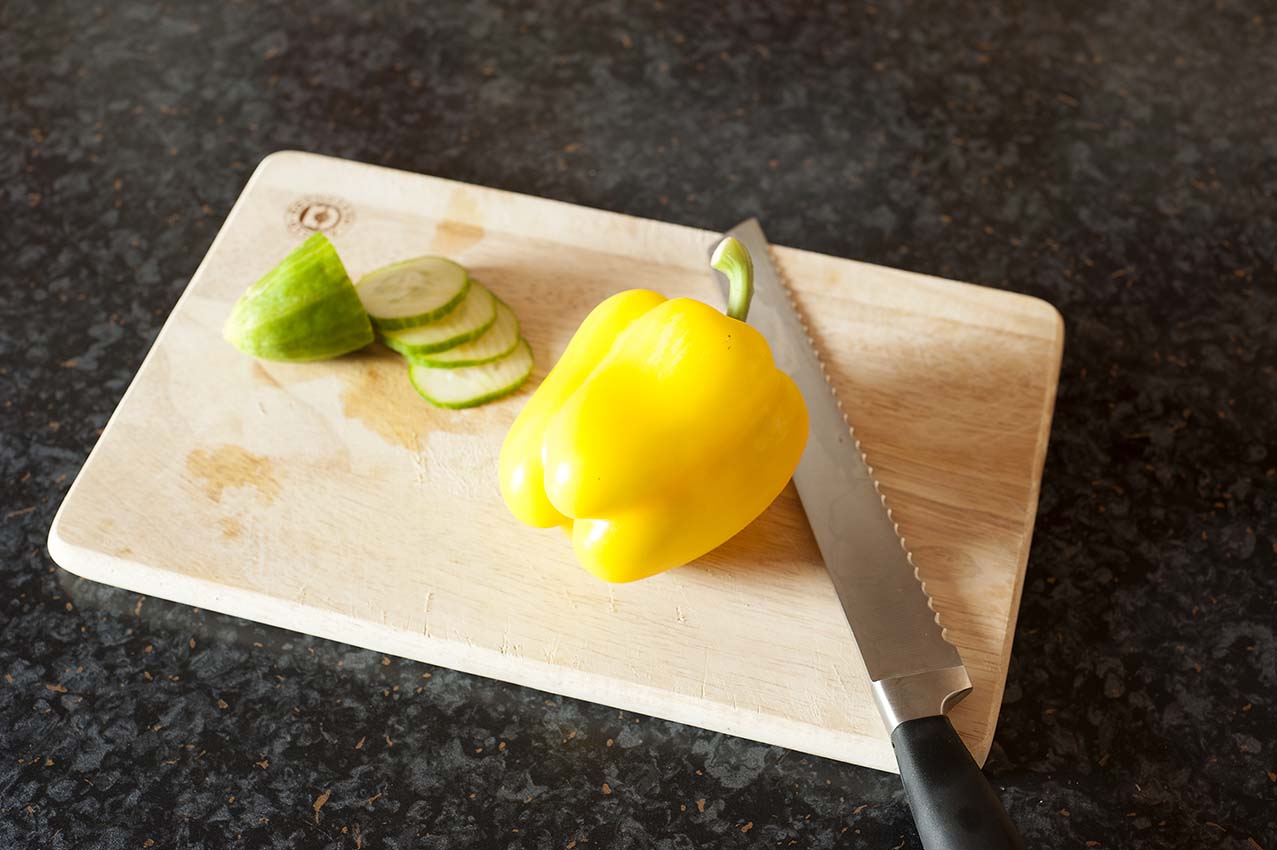
I've now added a pepper. I note here that the camera's auto focus has struggled since adding this likely as a result of the contrast in kitchen work top and pepper plus the natural light falling on the pepper. I think had I set the focus to multiple points rather than central or manual focus I could have overcome this. I've not reshot this as I want to leave this as a good learning reminderImage 4

I've now moved to manual focus. I've added a red pepper which with the sliced cucumber and yellow paper make an implied diagonal line.
Image 5

Image 6

Image 7

In this image I've displayed lines and implied triangles and circles demonstrating the larger number of shapes within this image and its surprising how many there are. This final image demonstrates what it it is in images that help create interest, its implied shapes.
Exercise Leanings
a) Multiple points can help create implied shapes within an image which the eye can explore and identify. This helps create additional interest and some dynamic movement or energy.
b) In this set of images the initial placement of the chopping board was deliberate to break up a rectangle within rectangle type of image which could appear static. Where the photographer is unable to move objects to create this similar dynamic effect for other items such as people, buildings etc tilting the camera can create this same effect.
c) I need to continuously review my images and their sharpness and always consider what other focus options I have. Image 3 displays a contrast issue which has thrown the camera's ability to auto focus correctly. Switching to multiple or alternative focus points from the central single point I normally use, or switching to manual focus allows the created image to become sharp
d) Making simple or made changes when framing or creating an image dramatic effect can be created changing a dull image into an energetic one
e) I further encounter the power of visual language within an image. Had I sliced the peppers and added some more subjects a story of creating lunch or an evening meal could have been captured in the image
I've really enjoyed this exercise and what could be considered a simple and quick exercise I've actually found a rather powerful message and learning experience.
No comments:
Post a Comment